

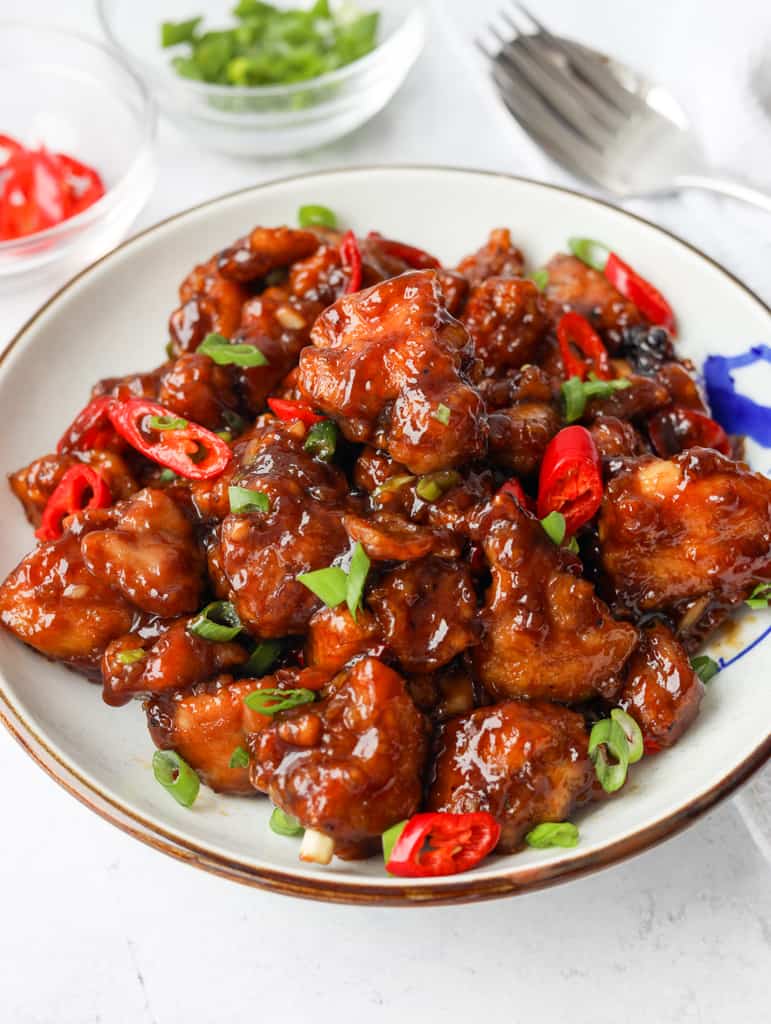
Crispy bite-sized chicken is tossed in a sticky, sweet and savory soy glaze. This easy Mongolian chicken recipe is ready in just 25 minutes. The chicken stays juicy inside with a light, crisp coating under the sauce.
Jump to:
Mongolian chicken is a Chinese-American restaurant-style dish made with crispy chicken tossed in a sweet and savory brown sauce with aromatics. Despite its name, it's not from Mongolia. The dish is associated with Mongolian barbecue, a quick stir-fry style that originated in Taiwan in the 1950s.
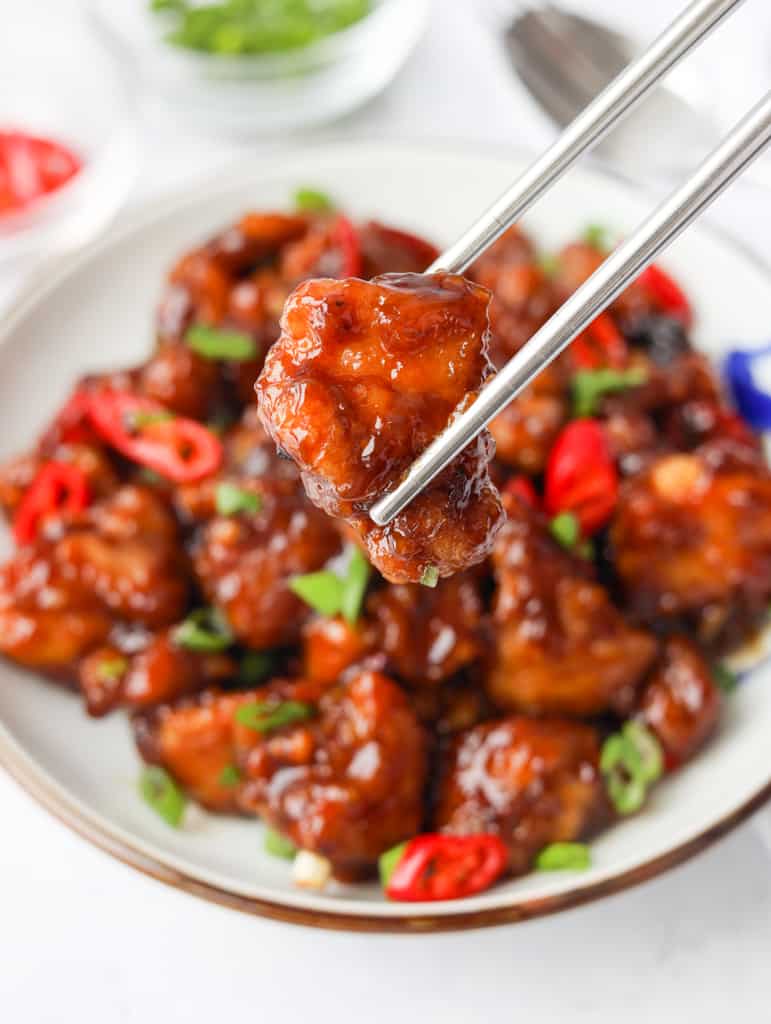
I first tried it at a downtown Chinese takeout restaurant and loved the sweet, sticky sauce so much that I ran home to recreate it. I found that evenly coating the chicken in cornstarch, then leaving it undisturbed in hot oil until a golden crust forms before flipping, keeps it crispy without using a ton of oil.
Why It Works
- Cornstarch coating: A dry cornstarch coating creates a light, crisp crust without a heavy wet batter.
- Hot frying oil: A heavy-bottomed pan and small batches help keep the oil at 325-350°F so the coating stays crisp instead of soggy.
- Last-minute saucing: Tossing the chicken in the thickened glaze just before serving keeps the crust from softening.
Ingredients & Substitutes
Exact ingredient amounts are listed in the recipe card at the bottom of this page.
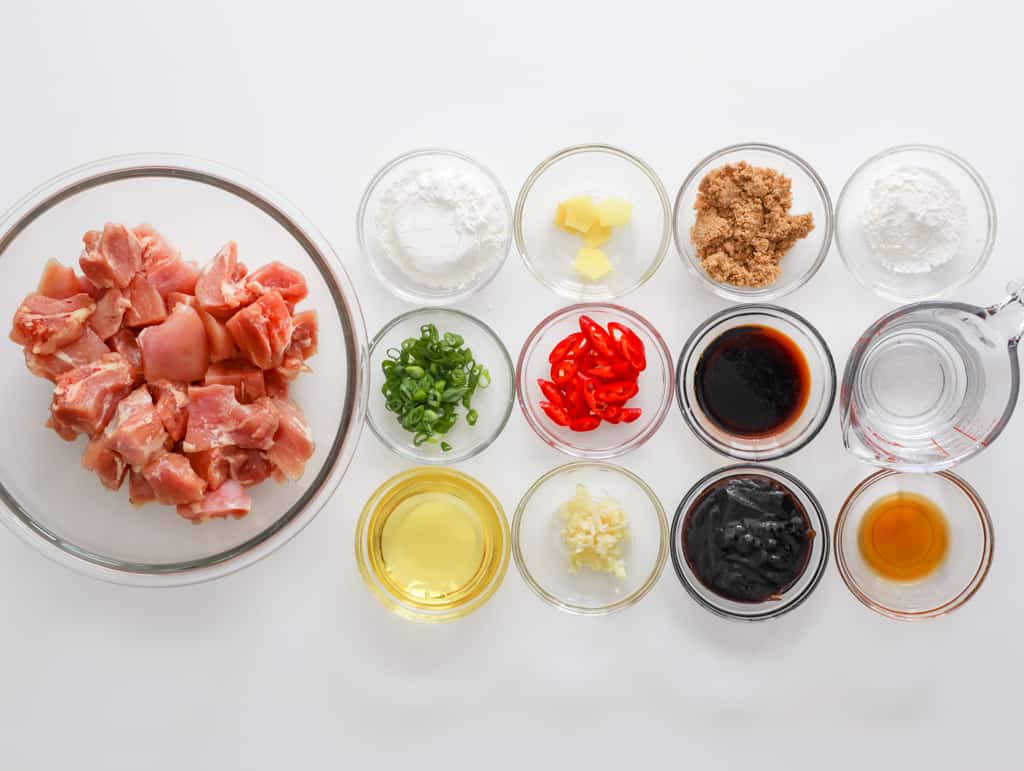
- Chicken Thighs: Boneless, skinless chicken thighs work best for juicy, tender chicken. Chicken breasts also work; cook them to 160°F, then remove from the heat and let carryover cooking bring them to 165°F.
- Cornstarch (for coating): Potato starch also works. Avoid tapioca or arrowroot starch for the coating, as they can cause the chicken to stick together.
- Vegetable Oil: Use a high-smoke-point neutral oil for clean frying. Canola, refined avocado, or peanut oil also work.
- Garlic: Freshly minced garlic is best, but jarred minced garlic also works.
- Red Chili Pepper: For milder heat, deseed and chop. For a non-spicy version, use ⅛ cup finely diced red bell pepper instead.
- Fresh Ginger
- Hoisin Sauce: Do not substitute with oyster sauce as it has a different flavor and sweetness.
- Regular Soy Sauce: Light soy sauce or low-sodium soy sauce also works.
- Brown Sugar: Light brown sugar works best, but dark brown sugar also works for a deeper molasses flavor.
- Toasted Sesame Oil: Make sure to use toasted sesame oil, not untoasted sesame oil.
- Green Onion
Cornstarch Slurry
- Cornstarch: Potato starch or tapioca starch also works for thickening the sauce.
- Cold Water
Note: Asian ingredients are typically available at most Asian grocery stores or online.
Expert Tips
- Press, then shake off. For extra crispiness, press on the cornstarch, then shake off any loose excess before frying.
- Fry soon after coating. Waiting too long lets moisture hydrate the cornstarch and make it gummy.
Instructions
Below are step-by-step instructions on how to make Mongolian chicken:
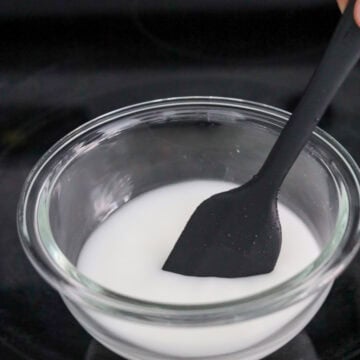
- Make the slurry: In a small bowl, whisk together 1 tablespoon cornstarch and 1⁄2 cup (125 ml) cold water until fully dissolved. Set aside.
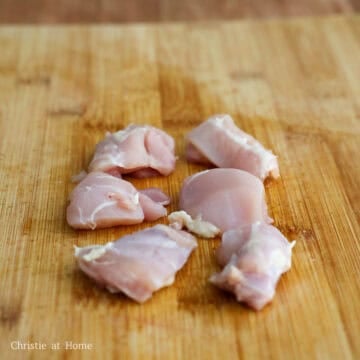
- Cube the chicken: Dice chicken thighs into uniform 1.5-inch cubes. Do not pat dry, as the moisture helps the cornstarch stick.
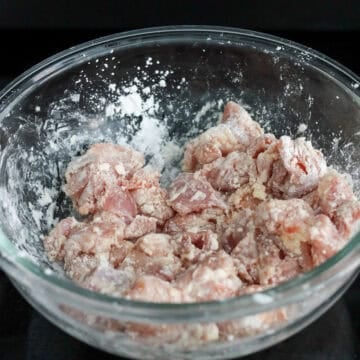
- Coat in cornstarch: Transfer the chicken to a large mixing bowl and add the cornstarch for coating. Toss until evenly coated. If any areas remain uncoated, add 1-2 tablespoons more cornstarch as needed.
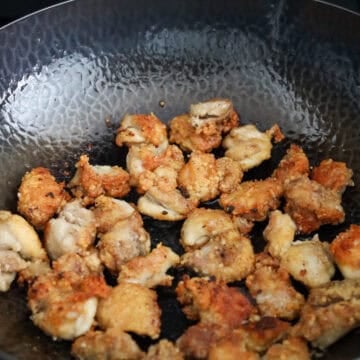
- Fry the chicken: Heat the oil in a large, heavy-bottomed pan over medium-high heat to 350°F. Fry the chicken in small batches for 5-7 minutes per batch, keeping the oil at 325-350°F. Don't move the chicken until the bottom is golden and crisp, then flip and fry until the chicken reaches 165°F. Between batches, return the oil to 350°F and remove browned bits. Drain on a wire rack.
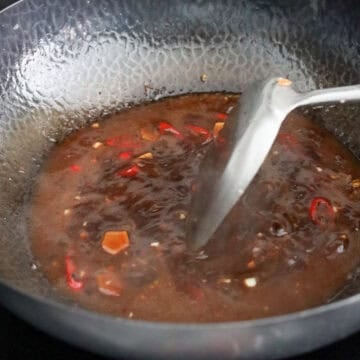
- Build the sauce: Leave 2 teaspoon oil in the pan and remove the excess. Reduce heat to medium. Stir-fry ginger, garlic, and half of the red chilies for 10 seconds. Add hoisin sauce, soy sauce, brown sugar, and sesame oil and mix to combine. Stir the cornstarch slurry again, then pour it in. Stir to combine and simmer until the sauce is thick and glossy.
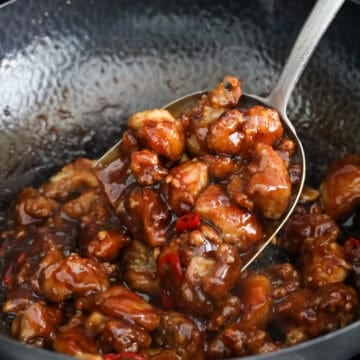
- Sauce and serve: Add the chicken and toss to coat evenly. Remove from heat, garnish with remaining red chilies and green onions, and serve immediately.
Storage & Reheating
- Refrigerator: If possible, store the chicken and sauce separately in airtight containers for up to 3 days to help keep the chicken crisp.
- Freezer: If possible, freeze the chicken and sauce separately in airtight containers for up to 2 months. Thaw overnight in the refrigerator; the coating will be less crisp after freezing.
- Reheating: For chicken stored separately, air fry at 350°F for 5 minutes or bake at 400°F for 8 minutes. Warm the sauce over low heat with a splash of water, then toss together. For sauced chicken, air fry at 350°F for 8 minutes or bake at 400°F for 12 minutes.
Variations
- Gluten-Free: Use tamari instead of soy sauce and make sure the hoisin sauce is certified gluten-free.
- Vegetarian: Replace the chicken with extra-firm tofu cut into 1-inch cubes. Press the tofu dry before coating it in cornstarch and frying until golden and crispy.
Pairing Suggestions
Serve crispy Mongolian chicken stir-fry with:
- Steamed Jasmine Rice: Soaks up the extra sweet and savory sauce.
- Garlic Green Beans: Adds a crisp vegetable side to balance the rich chicken.
- Egg Drop Soup: A light, savory starter that won't compete with the sticky sauce.
FAQ
The oil may have been too cool, the pan overcrowded, or the coated chicken left sitting too long. Keep the oil at 325-350°F, fry in small batches, and cook the chicken soon after coating.
Generously spray the air fryer basket with oil. Arrange the cornstarch-coated chicken in a single layer with space between each piece, then evenly spray the chicken with oil until no dry cornstarch spots remain. Air fry at 400°F for 10-14 minutes until golden, crispy, and cooked to 165°F. Flipping is not required.
Meanwhile, heat 2 teaspoon vegetable oil in a pan over medium heat and prepare the sauce as instructed in Step 5. Toss the air-fried chicken with the sauce just before serving.
Yes. Broccoli florets, large diced bell peppers, or sliced carrots work well. Stir-fry the vegetables separately until tender-crisp, then add them to the sauce with the chicken just before serving to help keep the coating crisp.
More Like This
Check out my other fried chicken recipes:
📖 Recipe
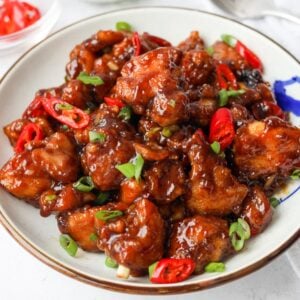
Easy 25-Minute Mongolian Chicken

Ingredients
- 1 lb skinless boneless chicken thighs
- ¼ cup cornstarch
- ⅓ cup vegetable oil or any neutral oil
- 2 garlic cloves minced
- 2 red chili pepper sliced, divided
- 5 slices ginger
- 4 tablespoon hoisin sauce
- 2 tablespoon regular soy sauce or light soy sauce
- 2 tablespoon brown sugar
- 2 teaspoon sesame oil toasted kind
- 1 green onion finely chopped
Cornstarch Slurry
- 1 tablespoon cornstarch
- ½ cup water cold
Instructions
- Make the slurry: In a small bowl, whisk together 1 tablespoon cornstarch and 1⁄2 cup (125 ml) cold water until fully dissolved. Set aside.
- Dice chicken thighs into uniform 1.5-inch cubes. Do not pat dry, as the moisture helps the cornstarch stick.
- Transfer the chicken to a large mixing bowl and add the cornstarch for coating. Toss until evenly coated. If any areas remain uncoated, add 1-2 tablespoons more cornstarch as needed.
- Heat the oil in a large, heavy-bottomed pan over medium-high heat to 350°F. Fry the chicken in small batches for 5-7 minutes per batch, keeping the oil at 325-350°F. Don't move the chicken until the bottom is golden and crisp, then flip and fry until the chicken reaches 165°F. Between batches, return the oil to 350°F and remove browned bits. Drain on a wire rack.
- Leave 2 teaspoon oil in the pan and remove the excess. Reduce heat to medium. Stir-fry ginger, garlic, and half of the red chilies for 10 seconds. Add hoisin sauce, soy sauce, brown sugar, and sesame oil and mix to combine. Stir the cornstarch slurry again, then pour it in. Stir to combine and simmer until the sauce is thick and glossy.
- Add the chicken and toss to coat evenly. Remove from heat, garnish with remaining red chilies and green onions, and serve immediately.
Sandy Stiner
Oh my gosh, this was so easy! The taste was like we got it from a restaurant. Cannot wait to make it again! Thank you Christie for helping us make tasty Asian dishes at home!!!!
Tracy Palmer Dawson
Yummy! I couldn’t find red peppers so I substituted red pepper flakes. I will try air frying the chicken as suggested next time to improve the healthfulness. Quick and easy. Thanks so much for sharing.
christieathome
Thanks so much for making my recipe, Tracy! Glad you enjoyed it!
Matt
Great taste good Dish except the directions are a little sketchy on the corn starch. It almost sounds like you are supposed to put the cornstarch slurry with the chicken. That is not the case, you are to coat chicken with corn starch. This measurement is not mentioned in the ingredients list.
christieathome
Apologies for the confusion! I've just revised the recipe instructions. I appreciate you flagging this and for making my recipe.
Bethany Hunter
I loved it!! The only problem I had was that the recipe was a little confusing with the cornstarch. First, I did it correctly by adding the cornstarch directly to the chicken, then, the next step says to make a slurry which confused me so I added water to the cornstarch coated chicken. I then realized that you meant that the slurry was for the sauce and the quarter cup was for the chicken and ended up adding more cornstarch to the slurried chicken. It ended up delicious but I bet it’s even more delicious don’t correctly.
That being said, it ended up so so so delicious! Thank you!
christieathome
Thank you so much for your comment and for making my recipe! I also appreciate you flagging this. I've revised the instructions again so they are more clearly written. Have a great day, Bethany!
Maria
We loved this recipe but could not figure out where the green onions mentioned in the first section went with the recipe. We ended up throwing them in with the aromatics, but the recipe is not clear.
christieathome
Thanks for making my recipe and for flagging that! I've corrected the recipe, the green onions are just for garnish.
Mommakat
I just found you and will follow. Your recipes are easy to follow and I love Asian cooking and your recipes include most all the ingredients i keep on hand. Thank You!
christieathome
Thank you so much for the kind words and I hope you enjoy my recipes!
Brendan
Cooked this one last night for some friends, they loved it. Definitely packs a punch!
christieathome
Thanks for making my recipe, Brendan! Glad you enjoyed it with your friends!
Deborah Hathaway
Deliciously sweet and spicy.
My first time making this but it’s definitely not a 25 min meal. I prepped the ingredients (added carrots, peppers and onions) and began frying. It took time working in small batches. I’ll be trying the air fryer next time.
peetje Peet
Loved this dish!!! Very tasteful.. simple and quick!!!
Thank you very much for sharing
christieathome
Thank you so much Peetje! I'm so glad you enjoyed it and I appreciate you taking the time to write such a kind review 🙂
Rachael
A very delicious meal! My whole family loved it and we will definitely be making it again! Thank you for this awesome recipe, Christie!
christieathome
Glad you enjoyed it with your family, thanks for making it!
Patryk
Hoisin sauce and sugar? Is this dish too much sweet?
Patryk
Hoisin sauce is generally sweet, wouldn't adding sugar make a dish bland and too sweet?
christieathome
Not in my experience with this dish and I haven't received that feedback from the many others who made this dish through my other social platforms. But if you feel it's too sweet, omit it and you can always add it later to the sauce.
Dan G.
Recipe as-is is great. Very nice flavor and the Corn Starch crisped chicken was just right. Wife didn't want it with rice so I used some Chinese egg noodles (like Lo Mein Noodles but just a little thicker). Cooked them most of the way first then rinsed under cold water and set aside. After cooking everything I added the noodles into my wok and mixed it well and cooked everything together a little longer. The sauce clung to the noodles nicely and it turned out great....And then...my wife said she would have liked some other vegetables in it... sometimes, you just can't win.
This recipe results in a very good Mongolian chicken, with what tastes like an authentic sauce and the perfect texture on the chicken.
christieathome
Thanks so much for making my recipe and for this kind review, Dan! So glad you enjoyed it! Egg noodles are a great pairing with this dish!
Melody
Hello 👋
This recipe was absolutely delicious. Thank you so very much for sharing. I was just wondering if you have the nutritional values on this?
I couldn't find them. Thanks so much very much.
christieathome
Thanks so much for making my recipe Melody! I'm so glad you enjoyed it! Sorry, unfortunately I don't have values for this recipe but I can add them later.
MamaH
I've made this recipe twice but I still can't manage to get the chicken crispy. Any tips? Thanks!
christieathome
Hi there! Thank you so much for making my recipe! Here are some tips to get that chicken crispy:
1) If there is a lot of moisture on the chicken, pat it dry with a clean paper towel. The excess moisture can attribute to a less crispy crust.
2) When coating the chicken with starch, do not overmix. If you overmix, this can create moisture in the starch. Once I pour the starch onto the chicken, I use kitchen tongs and twist it 3-4 x and this evenly distributes the starch. Alternatively, instead of pouring the starch onto the chicken, you can dredge each piece of chicken into the starch to avoid overmixing.
3) Fry the chicken for a couple minutes longer until the crust is crispier. Because it's chicken thigh, this cut is more forgiving and if you do cook it for longer, it won't dry out like breast.
Hope these tips help!
Stella
Came across this recipe a few months ago and have been making it at least once a week ever since! Super tasty, easy to make and turns out great every time. Thanks Christie, excited to try your other recipes!
christieathome
I'm so glad to hear that you enjoyed this Stella! Thanks for making my recipe and I hope you enjoy my other recipes 🙂