

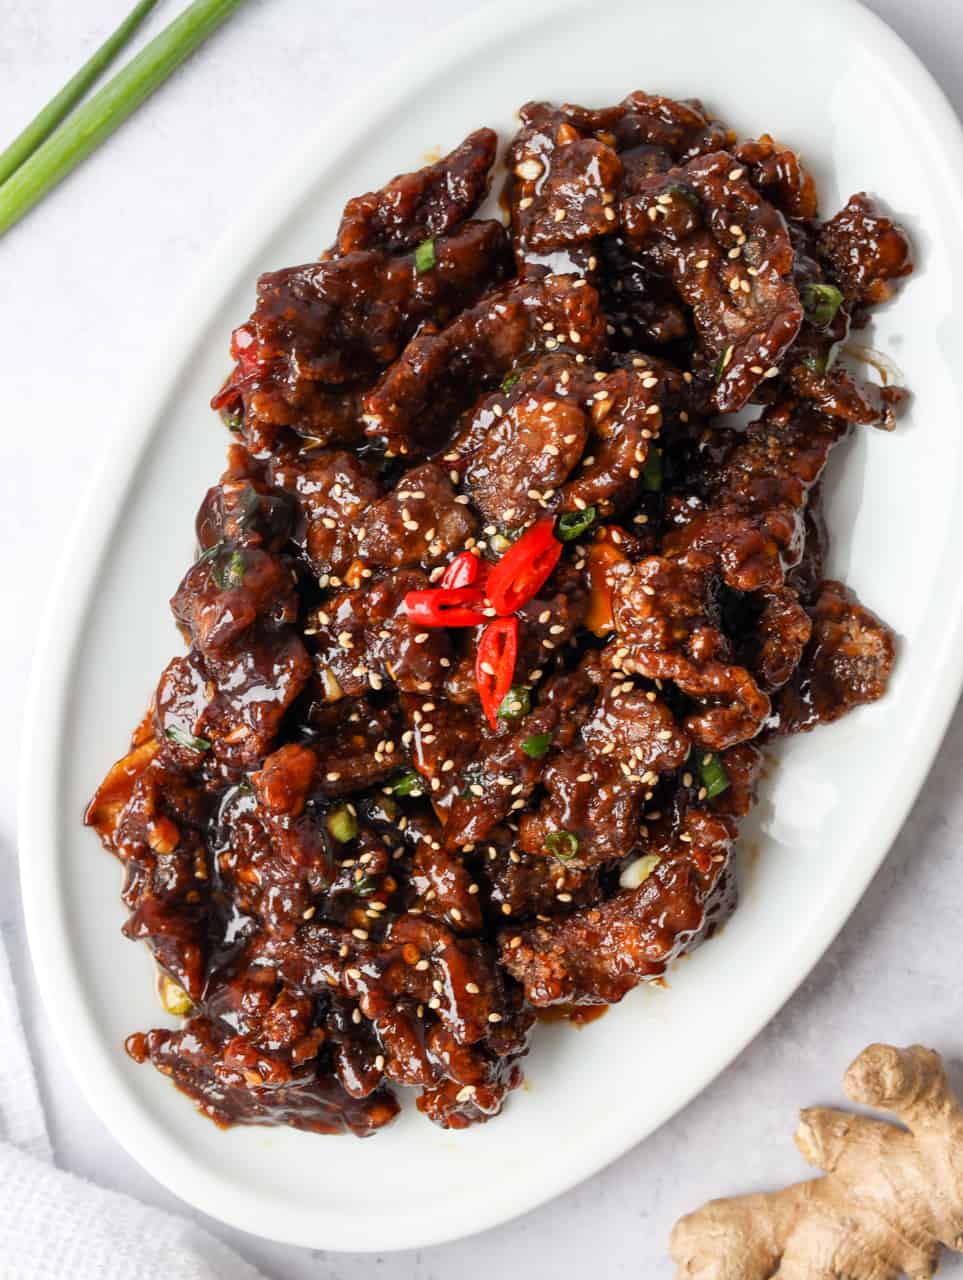
Thinly sliced beef with a golden, crispy coating is tossed in a sticky sweet and savory sauce with a mild kick. This easy Mongolian beef recipe is ready in just 30 minutes. The beef stays tender inside while the thick sauce clings to every crispy piece.
Jump to:
Mongolian beef is a popular Chinese takeout dish made with thinly sliced beef coated in a sweet and savory sauce. Back when I worked at an office, I'd always order it from my favorite Chinese takeout place and looked forward to that sweet, crispy beef at lunchtime. So naturally, I had to develop my own version.
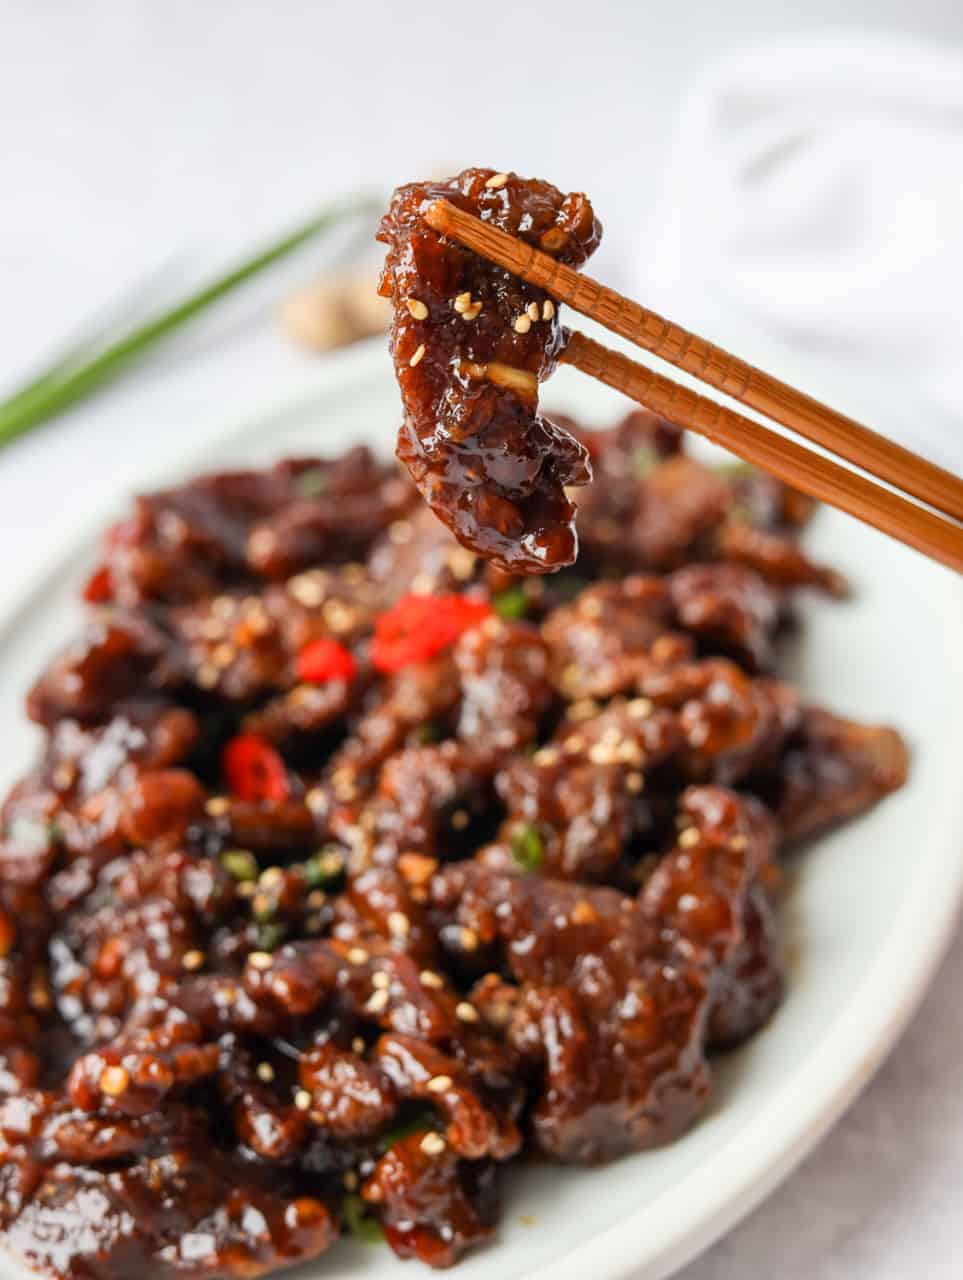
In my testing, I've found that marinating the thinly sliced beef with baking soda for 10 minutes helps keep it tender after frying.
Why It Works
- Crispy cornstarch coating: A dry cornstarch coating creates a light, crisp crust without the heaviness of a wet batter.
- Hot oil: A heavy-bottomed pan and small batches help keep the oil at 325-350°F so the coating stays crisp instead of soggy.
- Quick sauce finish: Briefly thickening the sauce before tossing with the fried beef helps it cling without making the crust soggy.
Ingredients & Substitutes
Exact ingredient amounts are listed in the recipe card at the bottom of this page.
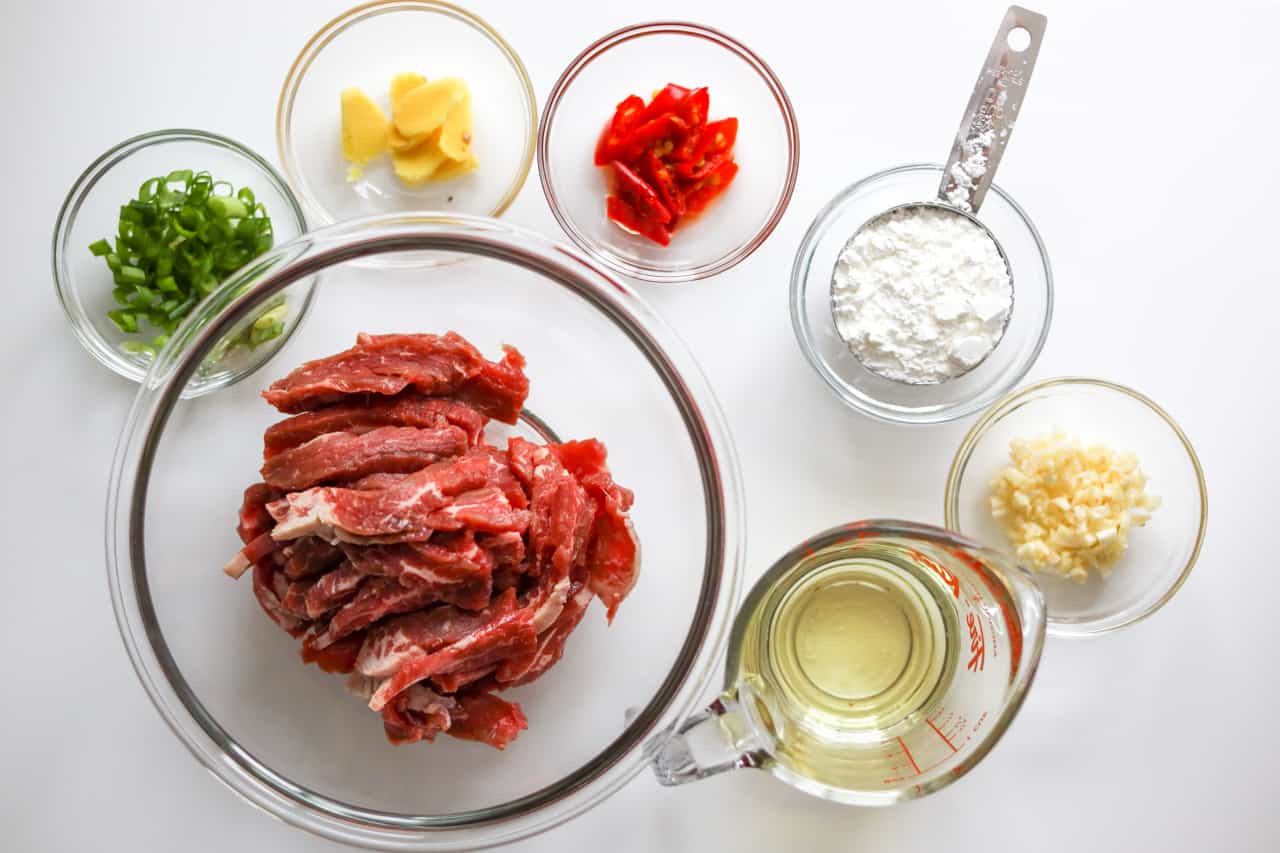
- Flank Steak: Slice thinly against the grain for tender beef. Sirloin steak, tri-tip, hanger steak, or top round also work.
- Cornstarch: Potato starch also works. Avoid tapioca starch or arrowroot starch, which can cause the beef pieces to stick together.
- Ginger: Fresh ginger works best for the aromatics.
- Garlic: Fresh garlic offers the best aroma, but jarred minced garlic also works.
- Red Chili Pepper: Deseed for milder heat, or substitute with ⅛ cup finely diced red bell pepper for a non-spicy version. Sauté it with the aromatics for 10 seconds.
- Green Onion
- Vegetable Oil: Use a neutral, high smoke-point oil. Canola or refined avocado oil also work.
- Sesame Seeds: Use the toasted kind. If unavailable, toast raw sesame seeds in a dry pan until golden.
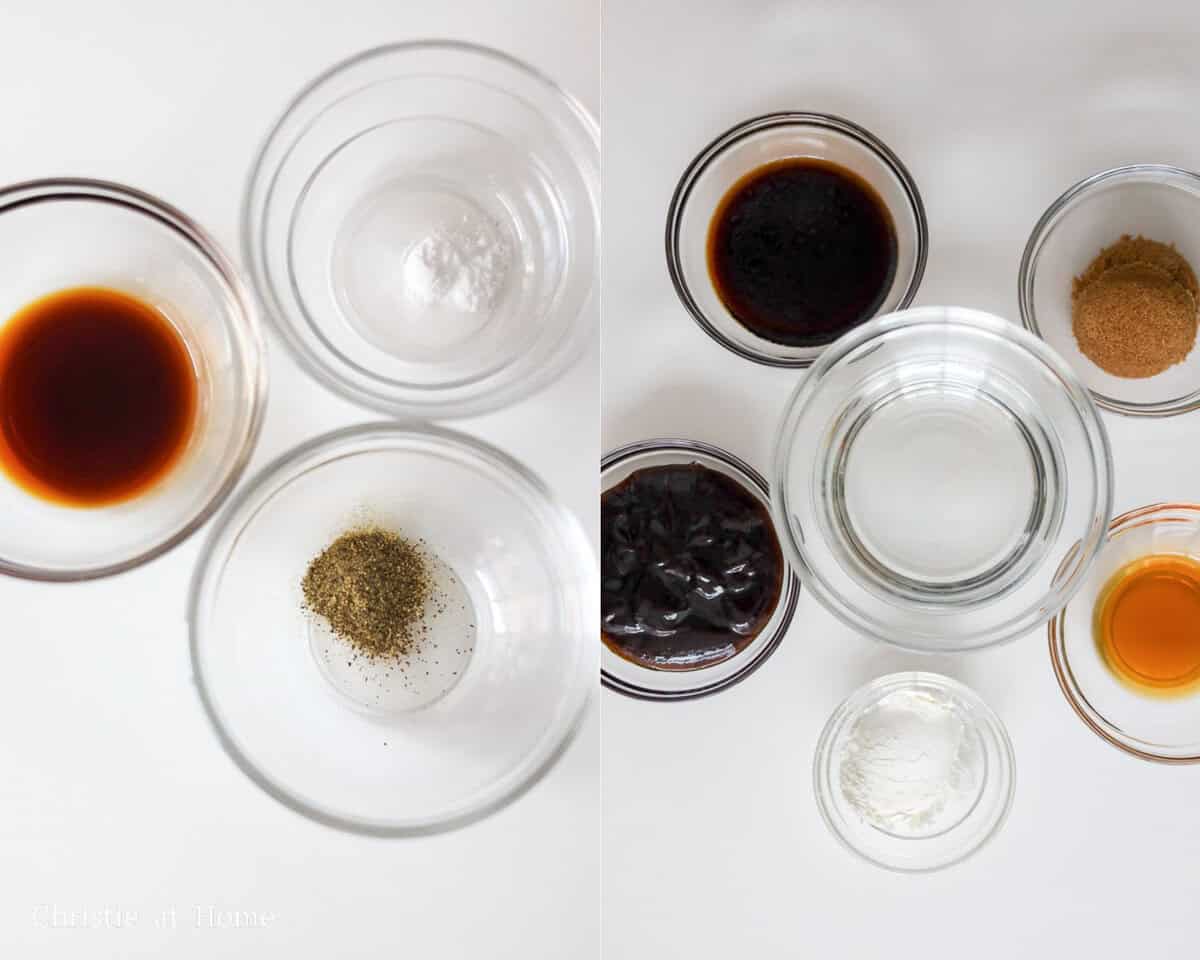
Beef Marinade
- Regular Soy Sauce: Light soy sauce or low-sodium soy sauce also works.
- Black Pepper: White pepper also works.
- Baking Soda: Don't skip this; it helps tenderize the beef during the short marinade.
Sauce
- Hoisin Sauce
- Regular Soy Sauce: Light soy sauce or low-sodium soy sauce also works.
- Brown Sugar: Light or dark brown sugar both work.
- Sesame Oil: Use toasted sesame oil for the best flavor.
- Cornstarch: Thickens the sauce so it coats the beef. Potato or tapioca starch also works for thickening the sauce.
- Cold Water
Note: Asian ingredients are typically available at most Asian grocery stores or online.
Expert Tips
- Freeze for easier slicing: Optionally freeze the beef for 45-60 minutes before slicing.
- Prep everything in advance: Have the sauce and aromatics ready because the cooking process moves quickly.
- Coat the beef separately: Don't dump cornstarch directly over the marinated beef or it can turn pasty and soggy. Coat each piece in a separate bowl of cornstarch instead.
- Fry soon after coating: Fry the beef shortly after coating so the cornstarch stays dry and crisp.
- Remove browned coating bits: Scoop them from the oil between batches so they don't burn and stick to the beef.
Instructions
Below are step-by-step instructions on how to make Mongolian Beef:
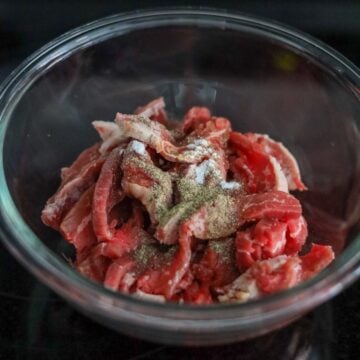
- Slice and marinate the beef: Thinly slice the beef against the grain at a 45-degree angle into ¼-inch thick, 2-inch long pieces. Transfer to a large bowl and mix with the listed beef marinade ingredients. Marinate for 10 minutes.
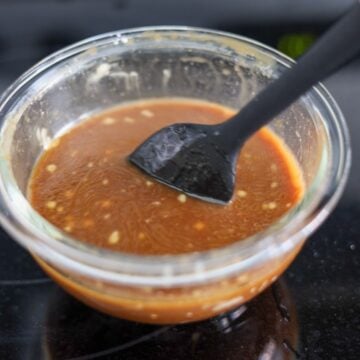
- Make the sauce: In a small bowl, whisk together all the sauce ingredients until the sugar fully dissolves. Set aside.

- Coat the beef: Add the cornstarch to a separate bowl and evenly coat each piece of marinated beef. Add 1-2 tablespoons more cornstarch as needed to cover any bare spots. Transfer the coated beef to a parchment-lined baking sheet.
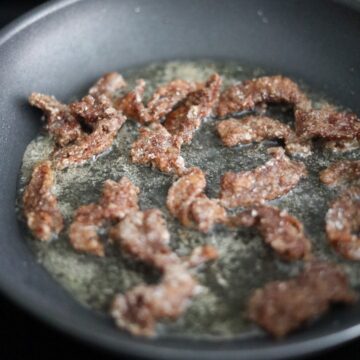
- Fry the beef: Heat the vegetable oil in a large heavy-bottomed pan over medium heat to 350°F. Fry the beef in two batches in a single layer for 1-2 minutes until golden and crispy, flipping halfway through. Let the oil return to 350°F before frying each new batch. Transfer the fried beef to a wire rack to drain.
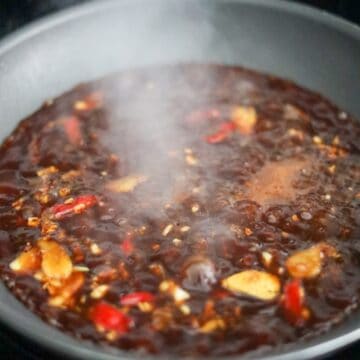
- Cook the aromatics and sauce: Leave 1 teaspoon (5 ml) oil in the pan and remove the rest. Reduce to low heat and sauté the ginger, garlic, and red chili for 10 seconds until fragrant. Whisk the sauce again, pour it into the pan, and simmer for 30-45 seconds until thick enough to coat the back of a spoon.
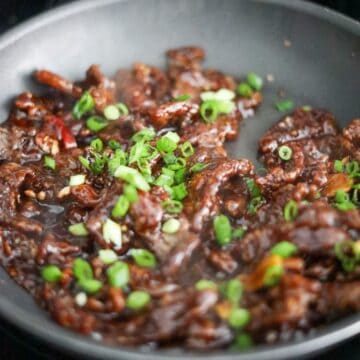
- Toss and serve: Add the fried beef and toss just until evenly coated in the sauce. Remove from heat immediately. Garnish with green onions and sesame seeds and serve right away.
Storage & Reheating
- Refrigerator: Store leftovers in an airtight container in the refrigerator for up to 4 days.
- Freezer: Freeze cooled Mongolian beef in a freezer-safe container for up to 3 months. Thaw overnight in the refrigerator before reheating.
- Reheating: Reheat in a skillet over medium heat until hot. Serve immediately for the best texture.
Variation
- Gluten-Free Mongolian Beef: Use tamari or gluten-free soy sauce and a gluten-free hoisin sauce. Make sure all other packaged ingredients are certified gluten-free if needed.
Pairing Suggestions
Serve this crispy Mongolian beef with:
- Egg Rolls: Their crispy wrapper makes an easy starter for the meal.
- Chow Mein: Savory noodles complement the sweet and savory beef sauce.
- Stir-Fried Snow Pea Leaves: The fresh greens balance the rich, crispy beef.
FAQ
The oil may not have been hot enough, the pan may have been overcrowded, or the beef may have sat too long after coating. Fry in small batches at 350°F and let the oil return to temperature between batches.
The beef may have been sliced too thick, cut with the grain, or overcooked. Slice it thinly against the grain and fry just until golden and crispy.
The sauce may need a little more time to thicken. Simmer it over low heat for a few more seconds, stirring constantly, until it coats the back of a spoon before adding the beef.
More Like This
Check out my other Chinese beef recipes:
📖 Recipe
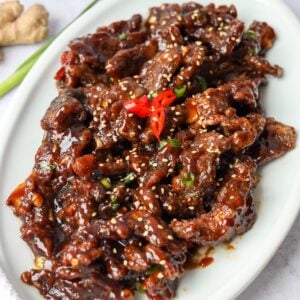
Easy Mongolian Beef (30 Minutes)

Ingredients
- 1 lb flank steak
- ½ cup cornstarch or as needed
- 1 teaspoon ginger thinly sliced
- 4 garlic cloves minced
- 1 red chili pepper de-seeded, chopped
- 1 green onion finely chopped
- ½ cup vegetable oil or any neutral oil
- ½ teaspoon sesame seeds toasted kind
Beef Marinade
- 2 teaspoon regular soy sauce or light soy sauce
- ¼ teaspoon black pepper
- ½ teaspoon baking soda
Sauce
- 4 tablespoon hoisin sauce
- 2 tablespoon regular soy sauce or light soy sauce
- 2 tablespoon brown sugar
- 2 teaspoon sesame oil toasted kind
- 1 tablespoon cornstarch
- ½ cup water cold
Instructions
- Thinly slice the beef against the grain at a 45-degree angle into ¼-inch thick, 2-inch long pieces. Transfer to a large bowl and mix with the listed beef marinade ingredients. Marinate for 10 minutes.
- In a small bowl, whisk together all the sauce ingredients until the sugar fully dissolves. Set aside.
- Add the cornstarch to a separate bowl and evenly coat each piece of marinated beef. Add 1-2 tablespoons more cornstarch as needed to cover any bare spots. Transfer the coated beef to a parchment-lined baking sheet.
- Heat the vegetable oil in a large heavy-bottomed pan over medium heat to 350°F. Fry the beef in two batches in a single layer for 1-2 minutes until golden and crispy, flipping halfway through. Let the oil return to 350°F before frying each new batch. Transfer the fried beef to a wire rack to drain.
- Leave 1 teaspoon (5 ml) oil in the pan and remove the rest. Reduce to low heat and sauté the ginger, garlic, and red chili for 10 seconds until fragrant. Whisk the sauce again, pour it into the pan, and simmer for 30-45 seconds until thick enough to coat the back of a spoon.
- Add the fried beef and toss just until evenly coated in the sauce. Remove from heat immediately. Garnish with green onions and sesame seeds and serve right away.

Marna Hoffman
Just made it tonight but of course i was neevous a 1lb flanksteak wiuldnt b enuf so i made the whole darned thing! Can i freeze it fried but not saiced yet??? Im probably not tech savy enuf to post a pix. Sorry was delish!!!!
Christie Lai
Amazing! Thank you so much for making my recipe. Glad you enjoyed it! Yes, you can freeze the un-sauced beef in the freezer in a freezer safe bag by laying the pieces in a single layer with the help of a baking sheet underneath the bag. Then freeze for 1 hour and remove the baking sheet so the pieces don't stick to each other. To reheat, microwave the fried beef or reheat on the stovetop with some oil. Hope this helps!
r rr
First properly made Mongolian beef recipe I've ever seen!
Christie Lai
Amazing! Glad you enjoyed it!
Lily
The directions are missing the green onions. I made the sauce and then saw that I still had the onions left 😭
Christie Lai
Hi Lily, I checked the recipe instructions and the green onions are listed in Step 8 (near the end) where you garnish the finished beef dish with the green onions. Hope this helps!
Rod
We have made both this and your Mongolian Chicken, on many occasions and they remain firm family favourites.
Sincere thanks for sharing…
Christie Lai
Thank you so much for the positive feedback and for making my recipes! Glad you and your family enjoyed them!
Chris
Made it for Family Sunday dinner. We usually take photos for the great meals but we were too excited and ate it all up before we could. I love your flexibility for using potato starch instead of cornstarch and I used jaggery for the sugar. So good! Will make again and hopefully get a picture.
Christie Lai
Thank you so much for making my recipe and for the positive review, Chris! What a kind compliment! Glad I could share some ingredient options and thanks for sharing your experience with my recipe 🙂 Have a lovely day!
Leah
We absolutely loved this dish with flank steak. I doubled the sauce as I had 700g of steak, added julienned carrots and red capsicum and also some snow peas. It was so colourful and delicious, hands down better than any bought take-away.
We will most definitely be making it again!
christieathome
So happy to hear this Leah! Glad you enjoyed it and happy it worked out well with additional veggies. Have a great weekend!
Doran Richart
Your blog was recommended by an Instagram friend. This was the first recipe I tried. My husband always orders Mongolian beef when he goes to a Chinese restaurant. He’s pretty picky but he gave this 👍👍and so did I. Love how quick and simple it was. Next time the only thing I would change is the amount of corn starch because I ended up with too much in the bottom of the walk after stir frying the meat. I think I would use less and apply it by using a Ziplock bag. I can’t wait to try more of your recipes. I usually don’t like making Chinese food at home because it is too labor intensive. However our favorite Chinese bistro closed after the pandemic and our next favorite Chinese restaurant is over an hour away. Thank you for your website!
christieathome
Thanks so much Doran for making my recipe and for sharing your kind comment with me! I'm glad you both enjoyed it and that it was simple to make. I love that tip with the Ziplock bag so you can use less cornstarch. Thanks for sharing this trick with us!
Marlin
Hallo, I have been using this recipe a lot and love it. But i'm wondering about how much sesame oil, garlic and ginger I should be using if I double it for 8 People? I'm not a native english speaker so sorry for bad grammar
christieathome
Hi Marlin, Thanks for using my recipe! I would suggest using the multiplier tool near the ingredients in the recipe card where you can change it to 3x and add one more serving to your calculation. Hope this helps!
chris
I made this - my first-ever meal without asking my wife for help along the way. It was super easy and my kids loved it. The sauce was lovely and sticky. We swapped the beef for lamb (fillet). I was thankful for the functionality of your site to increase quantities.
christieathome
Thanks so much for making my recipe and for leaving such a nice review, Chris! Glad I could help and even happier that you made this dish on your own - my mission complete 🙂 Also happy to hear the kids loved it and the quantity function is helpful!
Grandabenny
I have made this recipe two times now and it’s absolutely delicious 🤤😋 I make twice as much because I pack lunches for when I’m at work and it heats up perfectly!!
I would give this recipe a 5 out of 5 but it’s better than that more like a
10 out of 10 😊😊
christieathome
Thanks so much for making my recipe and for such a kind review, Grandpabenny! Happy it works out for lunches and reheats perfectly. Have a great day!
Carol
Made this last night for dinner. The whole family enjoyed it and we all agreed to give it 5 star plus rating if we could. Was not hard to make and did not take long. Delicious. Thank you for the recipe.
christieathome
Awesome! Thanks for making my recipe, Carol! So happy that the whole family enjoyed it 🙂
Danielle
I made this for my husband and we are making it again tonight! This was the best recipe! Thank you!
christieathome
Thanks so much Danielle for making my recipe and leaving this kind review! I am really happy to read this. Glad you both enjoyed it!
Megan
Do leftovers freeze well?
Michael A Wade
I am an Asian food nut, I cook all the time, recently I had major dental implant surgery and can only eat soft foods; will ground beef work for this? Any other ideas for me? I am stuck the healing process is 4 to 6 months.
Thanks! Mike
christieathome
Sorry to hear that you had to have dental surgery. Yes ground beef could work but I would skip coating the beef in starch since you'd like to keep it soft. You can simply fry the beef until cooked, remove from the pan and then cook your sauce. Then add the ground beef back into the sauce to mix and pair it with some soft steamed rice or soft noodles. I also share a very easy rice porridge called Congee that requires very little chewing if you dice up the chicken finely or use ground chicken, click here for the recipe. I would also suggest my Egg Drop Soup as well, click here. Hope this helps and wishing you a smooth recovery!
Javi
Fantastic, I became a star when I served it !!!
Thank you..
christieathome
Thanks so much for making my recipe! So happy to read this!
Boyd
Awesome awesome awesome!!! I love this recipie!
christieathome
Thank you so much Boyd! I truly appreciate your kind support!
David
Hello, and thank you for all the great recipes.
This recipe calls for sesame oil, is that the dark toasted sesame oil?
Thank you.
christieathome
You're welcome! It's roasted/toasted sesame oil. For the exact brand, I use Kadoya Pure Sesame Oil. Hope this helps!
Emma
Tastes like you ordered from a Chinese restaurant and so easy to make! For some reason I’ve always been a bit intimidated by flank steak but it was really easy to cut, especially with her tip to freeze for 30 mins, and also easy to cook. I air fried some broccoli and served with rice and it was perfect.
christieathome
Thank you so much Emma for making my Mongolian beef! I'm so glad the tip to freeze the flank steak was helpful!