

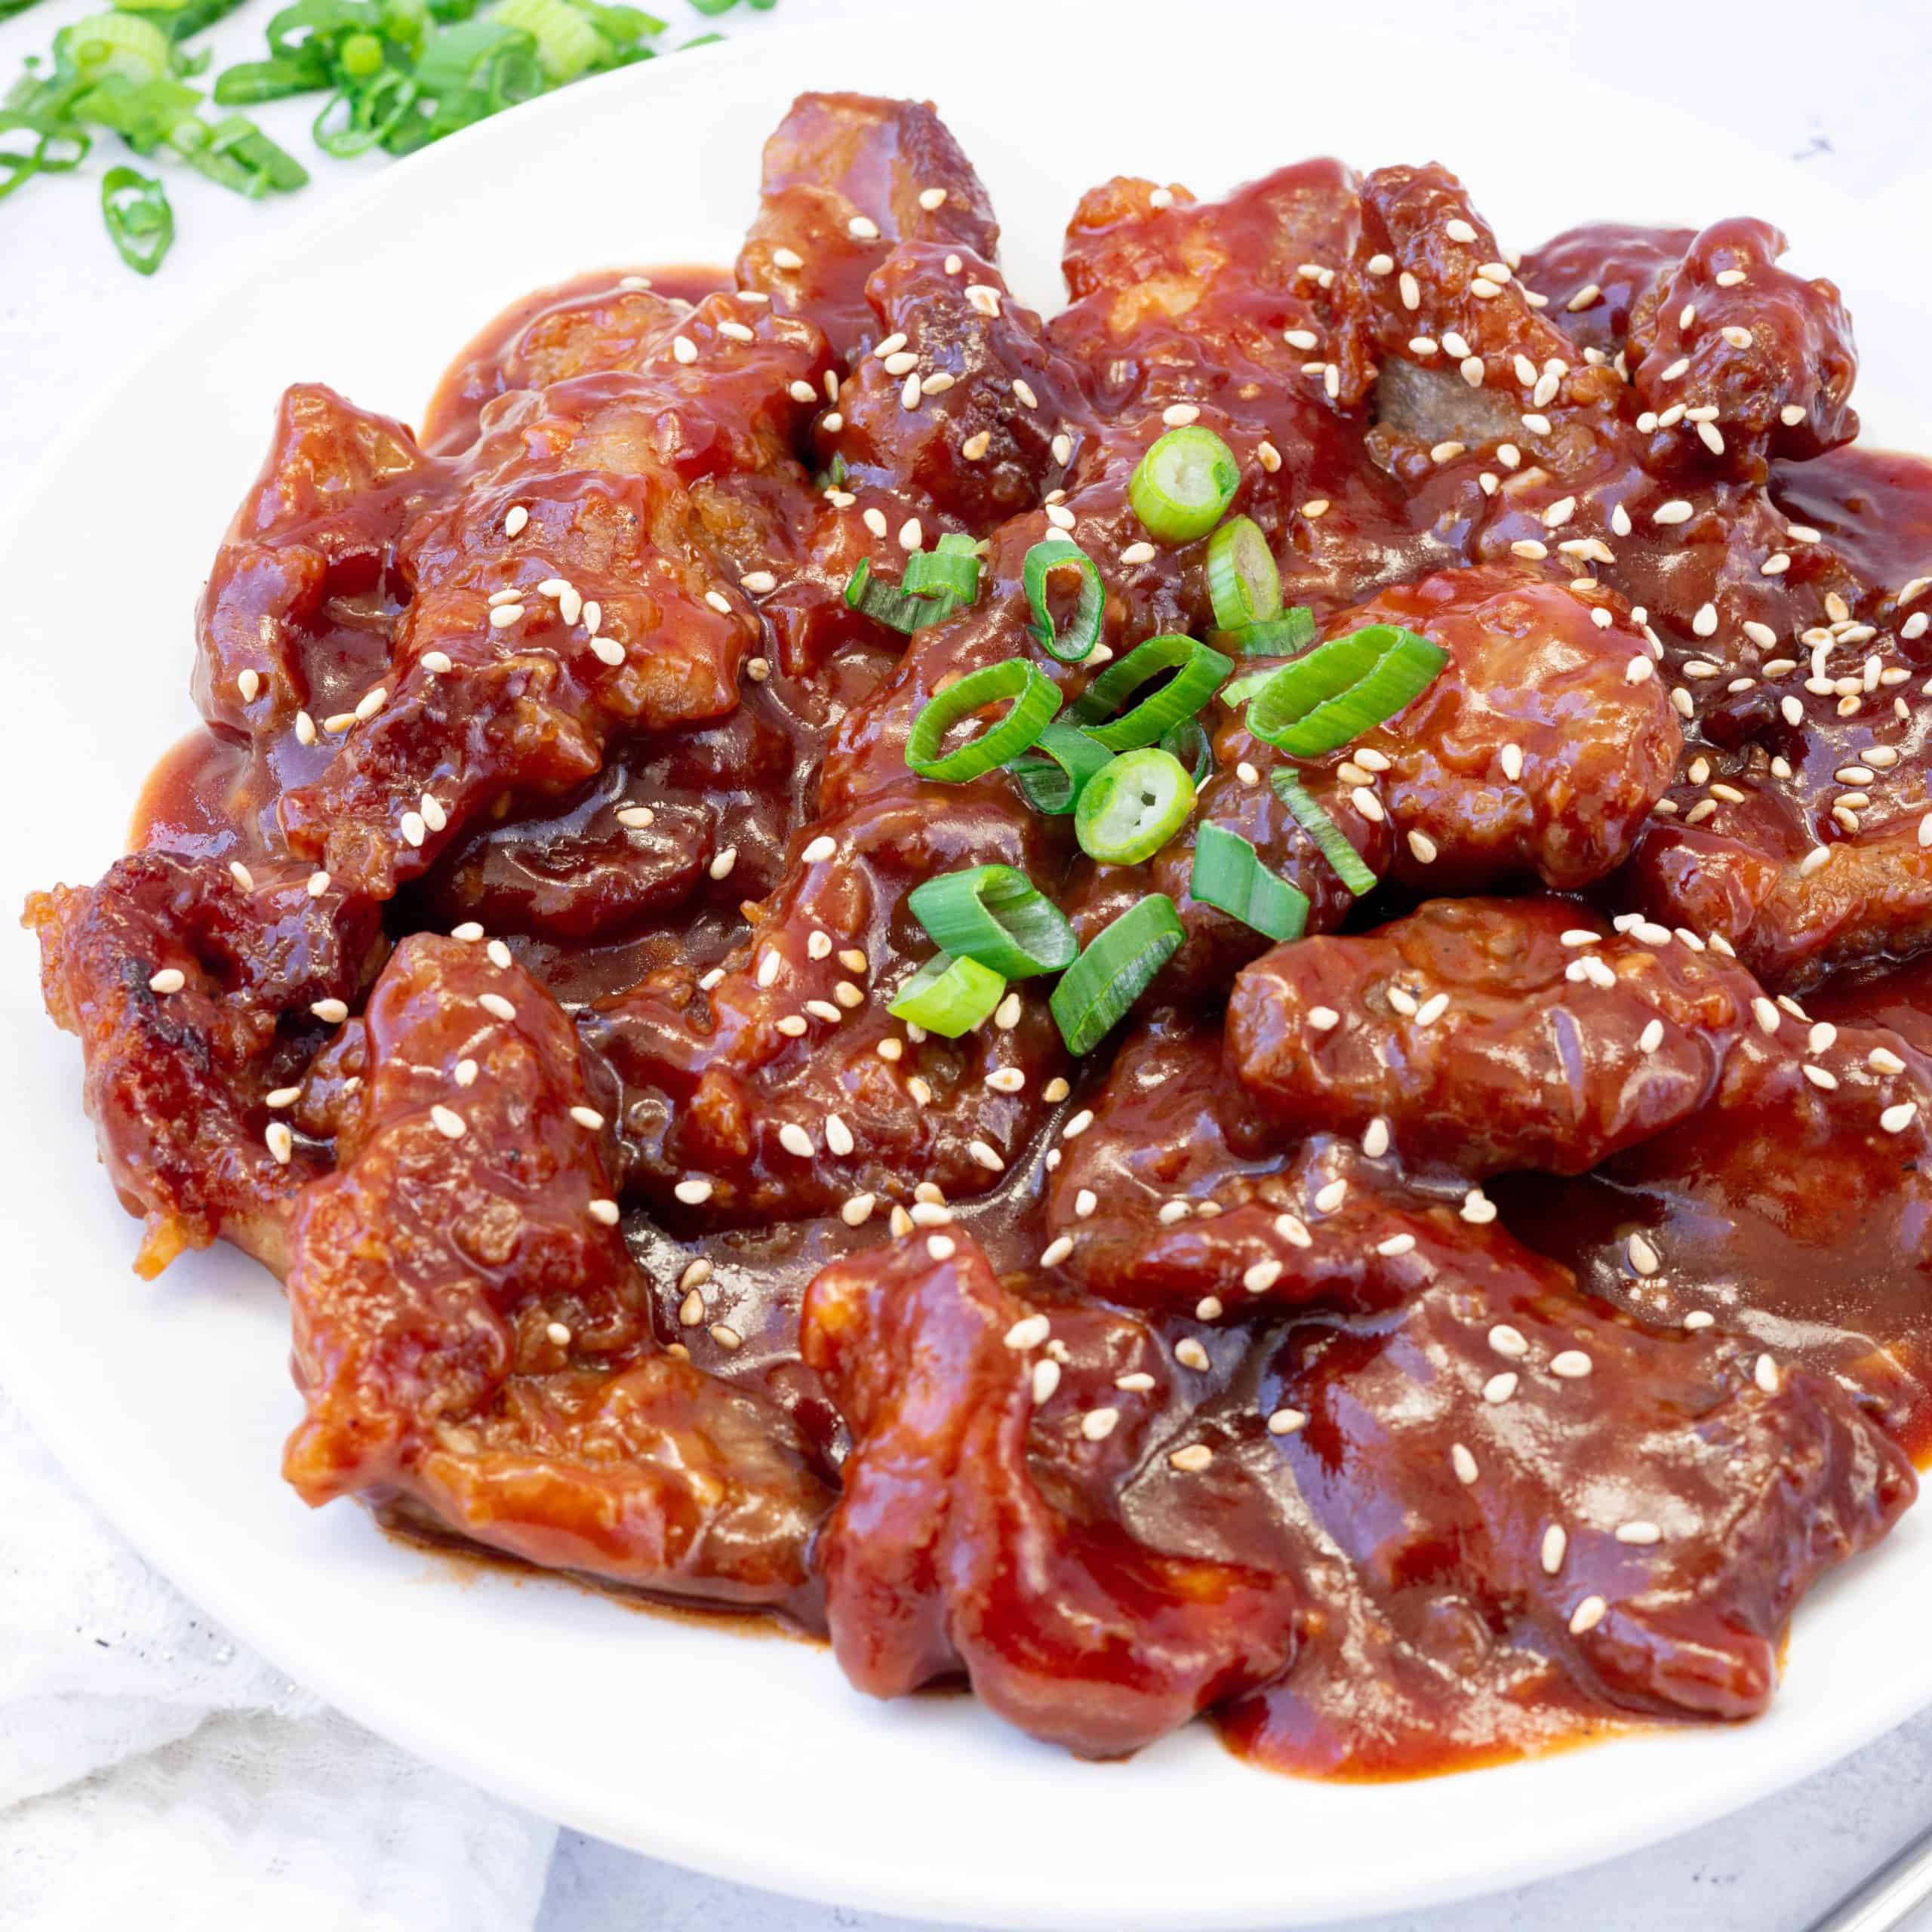
Tender, juicy pork chops are coated in a glossy, sweet and tangy Peking sauce. This easy Peking pork chops recipe is ready in just 25 minutes. The pork fries up golden before being tossed in the thick, savory-sweet glaze.
Jump to:
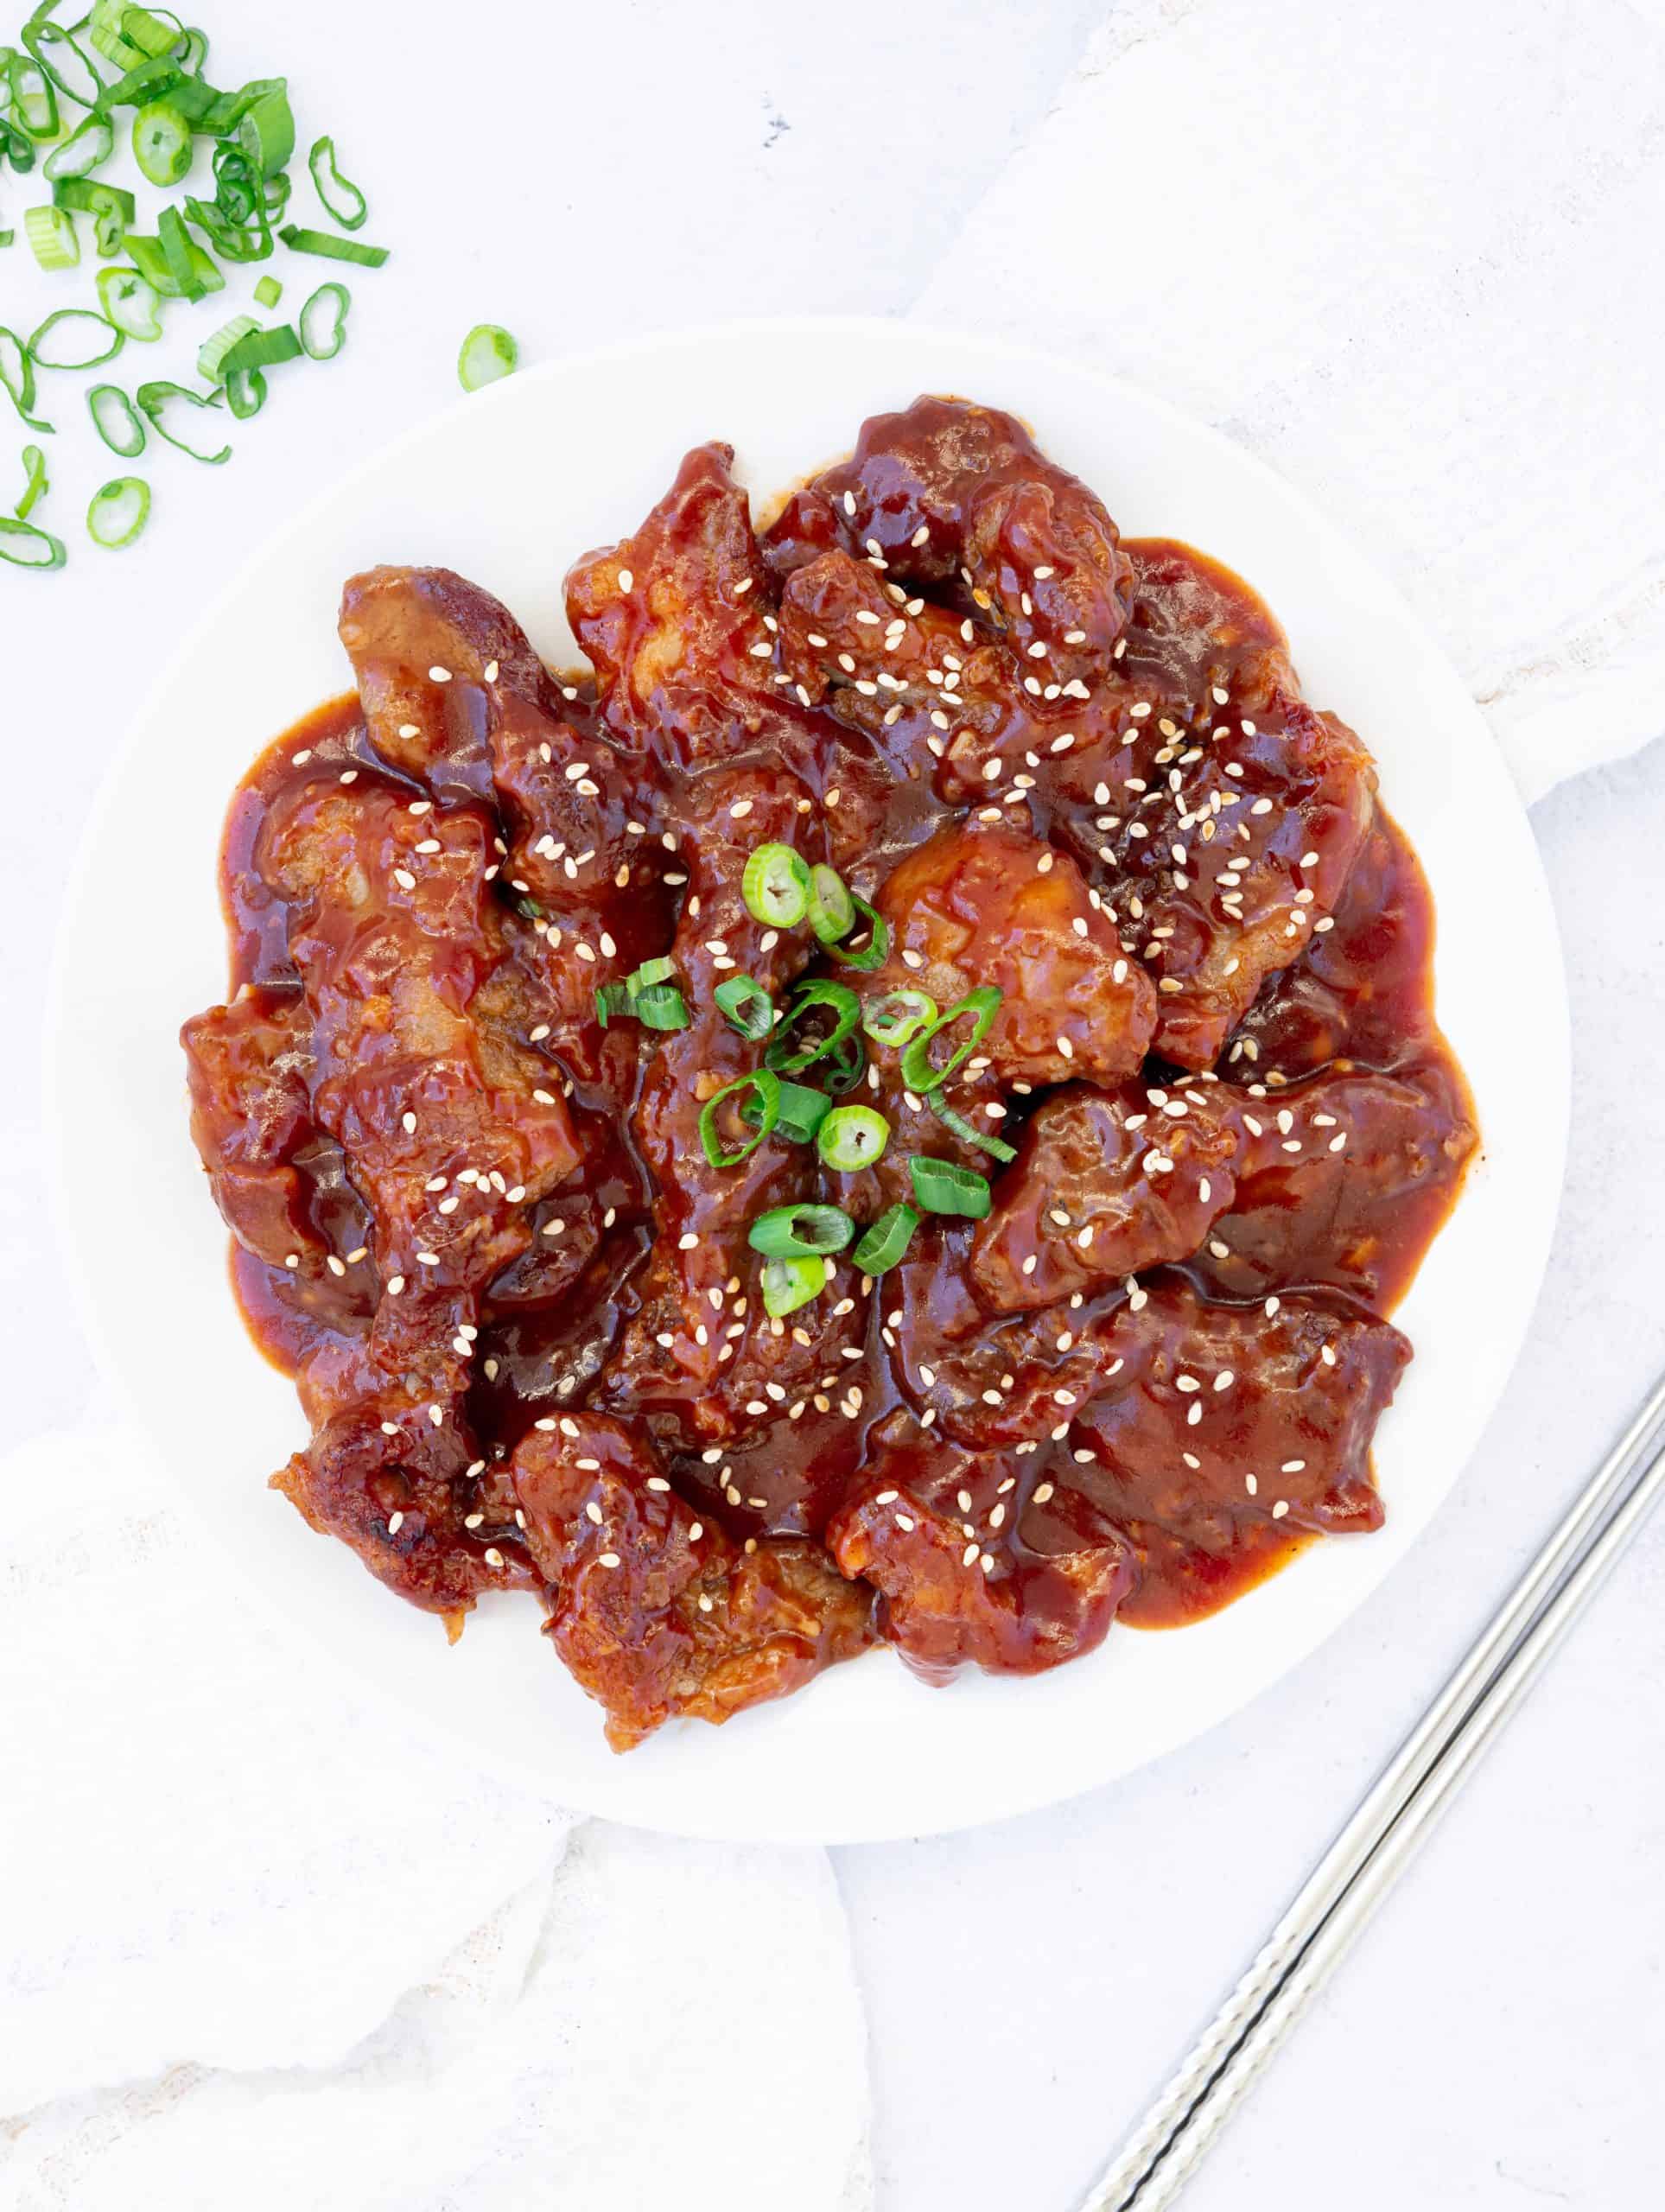
Peking pork chops (Jing Du Pai Gu, 京都肉排) are a Chinese restaurant-style dish made with fried pork coated in a glossy, sweet and tangy sauce. It's one of my favorite dishes to order and it pairs well with steamed rice.
Ordering this dish at Chinese restaurants can get expensive quickly, so I recreated this budget-friendly version at home to enjoy. I found that pounding the pork with a meat mallet breaks down the tough muscle fibers, helping it cook up exceptionally tender.
Ingredients & Substitutes
Exact ingredient amounts are listed in the recipe card at the bottom of this page.
- Boneless Pork Shoulder Steaks: Its higher fat content keeps the pork juicy during frying. If you can't find steaks, slice a whole pork shoulder into 1.5-inch-wide x 3-inch-long pieces that are about ¾ inch thick. You'll pound them thinner before frying.
- Vegetable Oil: Use a neutral, high-smoke-point oil. Canola, refined avocado, or peanut oil also work.
- Toasted Sesame Seeds: If unavailable, toast raw sesame seeds in a dry pan over medium heat until golden.
- Green Onions
Pork Marinade
- Salt
- Shaoxing Wine: Helps reduce pork gaminess. Dry sherry also works.
- Cornstarch: Creates a light coating that helps the pork stay juicy during frying. Potato starch also works. Avoid using tapioca starch as it can cause the pork to stick together.
Peking Sauce
- Garlic
- Ginger Powder: Freshly grated ginger also works.
- Chinese Five-Spice Powder
- Brown Sugar: I prefer using light brown sugar, but dark brown sugar also works.
- Worcestershire Sauce
- Hoisin Sauce
- Rice Vinegar: Apple cider vinegar also works.
- Ketchup: Use standard ketchup without additional flavorings for the classic sauce flavor.
- Cornstarch: Thickens the sauce into a glossy glaze. Potato starch also works.
- Cold Water
Note: Asian ingredients are typically available at most Asian grocery stores or online.
Expert Tips
- Shake off excess cornstarch. Remove any loose coating before frying to prevent it from burning in the oil.
- Fry immediately after coating. Letting the pork sit can make the cornstarch coating wet and gummy.
- Preheat the oil well. Add the pork only once the oil is hot to prevent a greasy coating.
- Avoid overcrowding the pan. Leave space between the pork pieces so they fry instead of steam.
- Watch the glaze closely. The sugar-rich sauce can thicken and burn quickly.
Instructions
Below are step-by-step instructions on how to make Peking pork chops:
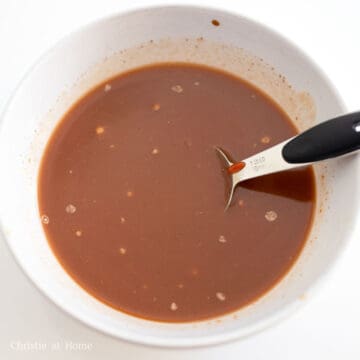
- Make the sauce: In a small bowl, whisk together the Peking sauce ingredients until smooth. Set aside.
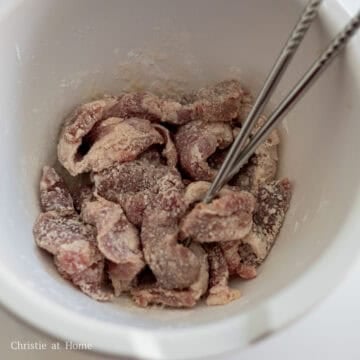
- Tenderize and marinate: Pound the pork shoulder pieces with a meat mallet or the back of a knife until ½ inch thick. This helps break down the tough muscle fibers and tenderize the pork. Transfer the pork to a large mixing bowl and toss with the salt and Shaoxing wine. Add the cornstarch and toss until evenly coated. If any areas of pork remain uncoated, add 1-2 tablespoons more cornstarch as needed.
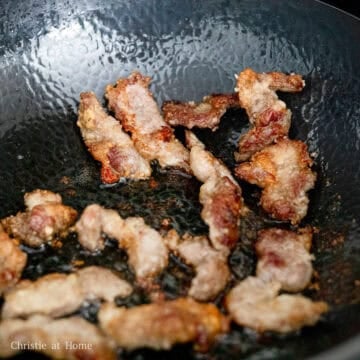
- Fry the pork: Heat the vegetable oil in a large pan over medium heat. Shake off any loose cornstarch from the pork, then carefully add it to the hot oil in a single layer without overcrowding. Fry until golden brown on both sides and cooked through, about 7-9 minutes total. The pork should reach an internal temperature of 145°F (63°C).
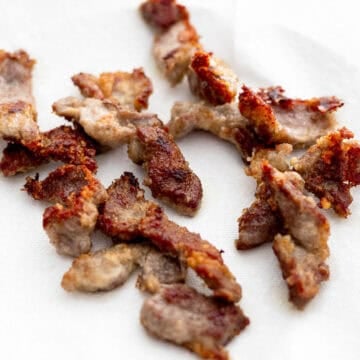
- Drain the pork: Transfer the fried pork to a wire rack or paper towel-lined plate to drain excess oil. Set aside.

- Thicken the sauce: Carefully discard the remaining oil and remove any browned cornstarch from the pan. Whisk the prepared Peking sauce again, then pour it into the pan over medium heat. Stir continuously as it comes to a simmer and thickens into a glossy glaze that coats the back of a spoon.
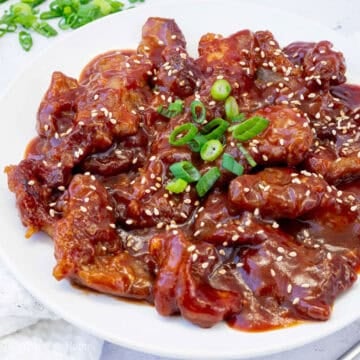
- Coat and garnish: Immediately return the fried pork to the pan and toss until evenly coated in the glaze. Remove from heat and garnish with toasted sesame seeds and green onions.
Storage & Reheating
- Refrigerator: Store cooled leftovers in an airtight container for up to 4 days.
- Freezer: Freeze cooled leftovers in a freezer-safe container for up to 3 months. Thaw overnight in the refrigerator.
- Reheating: Reheat in a skillet over medium heat for 4-5 minutes, turning the pork as needed, until hot throughout.
Variations
- Gluten-Free: Use dry sherry instead of Shaoxing wine and use certified gluten-free hoisin and Worcestershire sauces.
- Spicy: Add 1 teaspoon of chili paste or red pepper flakes to the Peking sauce.
Pairing Suggestions
Serve Chinese Peking pork chops with:
- Steamed White Rice: Soaks up the sweet and tangy Peking sauce.
- Garlic Bok Choy: Adds a fresh, crisp contrast to the rich glazed pork.
- Egg Drop Soup: A light, savory starter that balances the sweet and tangy flavors.
FAQ
The cornstarch may have settled before cooking or the sauce wasn't stirred enough as it thickened. Whisk the sauce well before adding it to the pan and stir continuously as it simmers.
The pork may not have been pounded thin enough or it may have been overcooked. Pound the pork to about ½ inch thick and cook just until it reaches 145°F internally.
Dip a wooden chopstick into the oil. If steady bubbles form around it, the oil is ready for frying.
More Like This
Check out my other pork recipes:
📖 Recipe
25-min. Easy Peking Pork Chops

Ingredients
- 0.5 lb boneless pork shoulder steaks cut into 1.5-inch-wide x 3-inch-long x ¾-inch-thick strips
- ¼ cup vegetable oil or any neutral oil
- ½ teaspoon sesame seeds toasted kind
- 1 green onion finely chopped
Pork Marinade
- ¼ teaspoon salt
- 1 tablespoon Shaoxing wine or dry sherry
- 3 tablespoon cornstarch
Peking Sauce
- 2 garlic cloves finely minced
- ⅛ teaspoon ginger powder
- ¼ teaspoon Chinese five spice
- 2 tablespoon brown sugar
- 1 tablespoon Worcestershire sauce
- 2 tablespoon hoisin sauce
- ½ tablespoon rice vinegar
- 4 tablespoon ketchup
- ½ tablespoon cornstarch
- ½ cup water cold
Instructions
- In a small bowl, whisk together the Peking sauce ingredients until smooth. Set aside.
- Pound the pork shoulder pieces with a meat mallet or the back of a knife until ½ inch thick. This helps break down the tough muscle fibers and tenderize the pork.
- Transfer the pork to a large mixing bowl and toss with the salt and Shaoxing wine. Add the cornstarch and toss until evenly coated. If any areas of pork remain uncoated, add 1-2 tablespoons more cornstarch as needed.
- Heat the vegetable oil in a large pan over medium heat. Shake off any loose cornstarch from the pork, then carefully add it to the hot oil in a single layer without overcrowding. Fry until golden brown on both sides and cooked through, about 7-9 minutes total. The pork should reach an internal temperature of 145°F (63°C).
- Transfer the fried pork to a wire rack or paper towel-lined plate to drain excess oil. Set aside.
- Carefully discard the remaining oil and remove any browned cornstarch from the pan. Whisk the prepared Peking sauce again, then pour it into the pan over medium heat. Stir continuously as it comes to a simmer and thickens into a glossy glaze that coats the back of a spoon.
- Immediately return the fried pork to the pan and toss until evenly coated in the glaze. Remove from heat and garnish with toasted sesame seeds and green onions.


Joy C.
This is one of my favorite Chinese dishes! Do you think this could be made with chicken cutlets or thighs? I have friends that don’t eat pork but I want to introduce this “more authentic” dish to them instead of Sesame Chicken. Do you think this recipe is similar enough to try to request a different meat at restaurants? (I know you might not have the answer for this.)
Christie Lai
Hi Joy! Yes, this could definitely work with chicken thighs 🙂 Hope this helps!
Alaina
I absolutely loved this. I used a different cut of pork and the skin came out a little hard, but otherwise it was wonderful. Thank you!
Christie Lai
Thank you so much for making my recipe and so glad you liked it!
Cecilia Balacky
Always Wanted To Make This Dish I Didn't Know It Was So Simple Now I Don't Have To Order From The Chinese Restaurants Thanks Alot
Christie Lai
The pleasure is all mine! Thank you so much for the kind review and glad you enjoyed it 🙂
Windy Wibowo
Just recook ur recipe for dinner and it was amazing!! I added some chilli on the sauce because i love spicy and it turns very good as well ❤️❤️ thank you for sharing the recipe
christieathome
Thanks so much Windy for making my recipe! So happy you liked it and I appreciate the kind review!
Summer
Taste amazing and not hard to make. Will no doubt be making this again and again! Thank you!
christieathome
Thanks so much for making my recipe Summer! So glad you liked it 🙂 Have a lovely day!
Gogo
this was great and i'm so happy these were all ingredients that i already had in my kitchen, thanks so much! 🙂
christieathome
So happy to hear that you enjoyed my recipe! Glad you had all the ingredients at your finger tips! Thanks for making my recipe!
Charlie Atherton
I'm looking at how to prep the pork and I see this...
"Slice pork shoulder into 2 x 3 inch-long strips that are about 1-cm thick"
Mixing English standard and metric. 1-cm=10mm=⅜in. approximately. Can we round up to ½"? Curious. 😉
Christie Lai
No, rounding up to 1/2 inch will be too thick. I recommend following 3/8 inch to ensure the beef is not too thick.
Faith
This was an awesome recipe and made lockdown that much more exciting. Thank you so much for sharing!
christieathome
So glad it made your lockdown more exciting! Happy I could share.
Gloria
Love this recipe. The best one I've found so far that tastes as good as my local restaurant! Love that the ingredients are readily available too. This dish is all about the sauce and this one's great.
Thanks for making it so easy and accessible - delish!
christieathome
Thank YOU so much Gloria for your kind comment! It actually made my day and I am so glad it tastes as good as your local restaurant. So so so happy to read this. Have a lovely day! - Christie
Heidi | The Frugal Girls
I really love your homemade peking pork sauce... it's the perfect way to upgrade with this classic dish!